
Blog
How to Winterize an Outboard Motor: A Complete Guide for Canadian Boaters
Sep
How to Winterize an Outboard Motor: A Complete Guide for Canadian Boaters
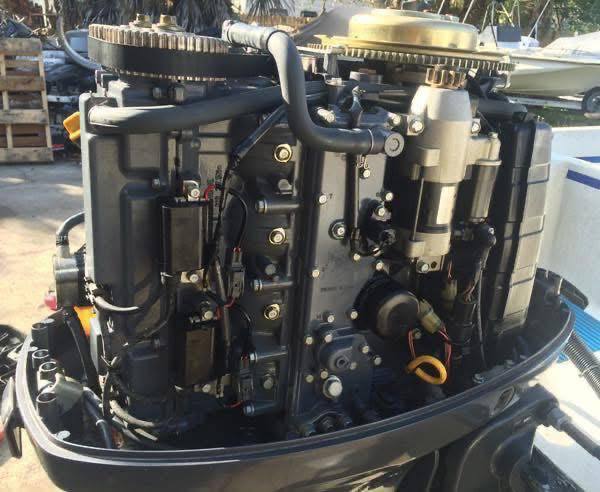
As the boating season comes to a close, it’s crucial to prepare your vessel for the winter months. Properly winterizing your outboard motor is essential to ensure its longevity and performance when the warm weather returns. In this guide, we’ll cover everything you need to know about how to winterize an outboard motor, helping you protect your investment and get the most out of your boating experience.
Why Winterize Your Outboard Motor?
Winterizing your outboard motor is vital for several reasons:
- Preventing Damage: Cold temperatures can cause water to freeze inside the motor, leading to cracks and other damage.
- Corrosion Protection: Moisture can lead to rust and corrosion if not properly addressed.
- Fuel System Maintenance: Fuel can degrade over time, leading to issues when you start the motor in the spring.
By taking the time to winterize your outboard motor, you can avoid costly repairs and ensure a smooth start when boating season resumes.
Step-by-Step Guide on How to Winterize an Outboard Motor
1. Gather Your Supplies
Before you start, make sure you have the following supplies on hand:
- Engine oil
- Fuel stabilizer
- Freshwater
- Antifreeze (non-toxic)
- Grease
- A clean cloth or rag
- Tools for maintenance (wrenches, screwdrivers, etc.)
2. Flush the Engine
Flush the outboard motor with freshwater to remove any salt, dirt, or debris. You can do this by connecting a flushing device to the motor’s cooling water intake and running the engine for about 10-15 minutes. This step is crucial, especially if you’ve been boating in saltwater.
3. Change the Oil and Filter
Changing the oil and filter before winter storage helps prevent contaminants from damaging the engine. Run the engine for a few minutes to warm up the oil, making it easier to drain. Then, replace the oil filter and fill the engine with fresh oil.
4. Add Fuel Stabilizer
To prevent fuel degradation, add a fuel stabilizer to the tank. Run the engine for about 10 minutes to ensure the stabilizer circulates through the fuel system. This step is essential for maintaining fuel quality over the winter months.
5. Coolant System Protection
If your outboard motor has a closed cooling system, add non-toxic antifreeze to the system. Follow the manufacturer’s instructions for the specific antifreeze type suitable for your motor.
6. Inspect and Grease Components
Check all moving parts, including the throttle, shift linkage, and steering. Apply grease to these components to prevent rust and ensure smooth operation when you’re ready to use the motor again.
7. Remove the Battery
If your outboard motor has a battery, remove it and store it in a cool, dry place. Make sure to charge it periodically throughout the winter to keep it in good condition.
8. Cover the Motor
Finally, cover your outboard motor with a protective cover to shield it from dust, moisture, and pests. This step helps to keep your motor in excellent condition during the off-season.
Additional Tips for Winterizing Your Outboard Motor
- Consult the Owner’s Manual: Always refer to your outboard motor’s owner’s manual for specific winterization instructions and recommendations.
- Consider Professional Help: If you’re unsure about any step in the winterization process, don’t hesitate to seek help from a professional marine technician.
- Regular Maintenance: Regularly check your motor during the winter months to ensure everything is in order.
Conclusion
Winterizing your outboard motor is an essential process that can save you time and money in the long run. By following this guide on how to winterize an outboard motor, you can ensure that your motor remains in excellent condition and is ready for action when boating season returns.
For more tips and resources on outboard motors, or if you’re looking to purchase a new or used motor, visit Outboards Motors Online. Protect your investment and enjoy a hassle-free boating experience next season!