
Blog
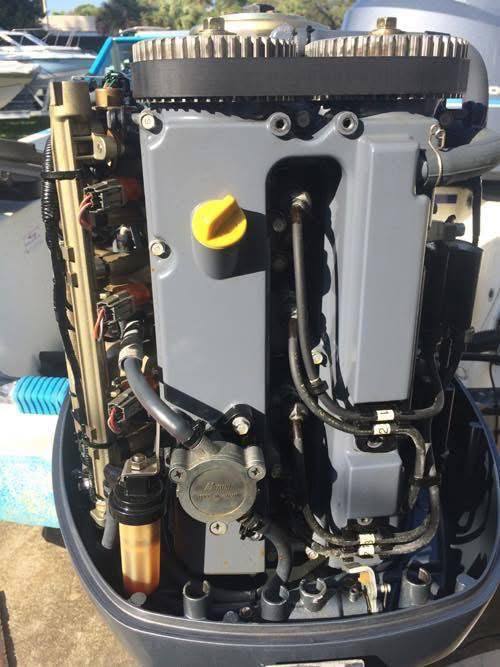
How to Start a Yamaha 4 Stroke Outboard Motor
Sep
How to Start a Yamaha 4 Stroke Outboard Motor
If you’re ready to hit the water with your Yamaha 4 Stroke Outboard Motor but don’t know where to start, this guide is here to help! Starting any outboard motor can seem daunting, but with the right steps and precautions, you can get your Yamaha running smoothly and safely. In this blog post, we’ll walk you through the essential steps on how to start a Yamaha 4 stroke outboard motor effortlessly.
Table of Contents
- 1. Preparation
- 2. Fuel and Oil Check
- 3. Controls and Settings
- 4. Starting Procedure
- 5. Troubleshooting Tips
- 6. Conclusion
1. Preparation
Before you attempt to start your Yamaha 4 Stroke Outboard Motor, it’s crucial to ensure you’re well prepared. If you’re new to boating or using an outboard motor, take some time to familiarize yourself with the motor’s owner’s manual. Knowing the specific model details can save you time and unnecessary frustration.
2. Fuel and Oil Check
The first crucial step in starting your Yamaha outboard is to check the fuel levels and the engine’s oil. Make sure you have fresh fuel—using stale fuel can lead to poor performance or starting issues.
Additionally, ensure that the engine oil is at the proper level. Yamaha recommends using the specified oil type listed in the owner’s manual. Regular oil checks are essential for maintaining a healthy outboard motor.
3. Controls and Settings
Before starting the motor, familiarize yourself with the controls. Locate the throttle control and ensure it’s set to the neutral position. Check that the kill switch is attached and in the “run” position. These preparations can prevent accidents and make the starting process smoother.
4. Starting Procedure
Now that you have prepared everything, it’s time to start your Yamaha 4 Stroke Outboard Motor:
- Set the Fuel Valve: Make sure the fuel valve is in the “on” position. This step allows fuel to flow to the engine.
- Choke Activation: If your motor requires a choke, activate it appropriately. This provides the necessary rich fuel mixture for cold starts.
- Starting the Engine: Turn the key to the start position. If your Yamaha motor has a primer bulb, pump it five or six times to prime the engine before starting.
- Engine Starting: Keep the key in the “start” position until the engine starts. If the engine fails to start after a few seconds, release the key and wait a moment before trying again.
- Adjust the Choke: Once the engine runs smoothly, you can gradually disengage the choke. Make sure not to leave the choke on for too long, as it can hinder engine performance.
- Throttle Settings: Gently rev the throttle to ensure the engine responds well. If you notice any unusual behavior, consider stopping and troubleshooting.
5. Troubleshooting Tips
If you encounter issues starting your Yamaha 4 Stroke Outboard Motor, here are some troubleshooting tips:
- Check for Fuel Blockages: Ensure there are no kinks in the fuel line or blockages preventing fuel flow.
- Inspect the Battery: A weak or dead battery can be a common issue. Check the connections and charge the battery if necessary.
- Look for Errors in Controls: Double-check the throttle and kill switch settings to confirm they are correctly adjusted.
- Inspect for Mechanical Issues: If the motor continues not to start, there might be an underlying mechanical problem. Consult a Yamaha technician for further assistance.
6. Conclusion
Starting a Yamaha 4 Stroke Outboard Motor doesn’t have to be challenging. By following the steps outlined above and ensuring proper maintenance, you can ensure your outboard is ready for a day of adventure on the water. Remember always to refer to your owner’s manual for model-specific instructions and safety recommendations.
For more valuable insights into outboard motors and how to properly maintain them, visit us at Outboards Motors Online. Furthermore, learning how to start your Yamaha 4 stroke outboard motor is just one of the many skills you’ll acquire as a boat enthusiast.